Showing posts with label Wing Ribs. Show all posts

Sunday, April 16, 2023

Trimmed Trailing Edge of Ribs

 The ailerons use a folded ">" shaped piece of steel for the trailing edge.  Today you can buy a similar, aluminum, trailing edge material from most aircraft supply houses.  During WWI some of the aircraft, like the SPADs used a wire trailing edge.  That's how it's done on the NINE wings.

They use a length of 1/6" music (piano) wire for the trailing edge.  To hold it to each rib the wire is soldered to a strip of thin (0.020") copper, the width of the rib capstrips (3/8" for most ribs) and, about 3 1/2" long.  The copper is folded around the trailing edge of the rib and nailed to the upper and lower capstrips.  The noticeable thing about this method is that the tension on the fabric causes the wire to sag between each rib giving the trailing edge a scalloped look.  The wire sags in the shape of a Catenary Curve, like the cables on a suspension bridge (Golden Gate or Mackinaw).

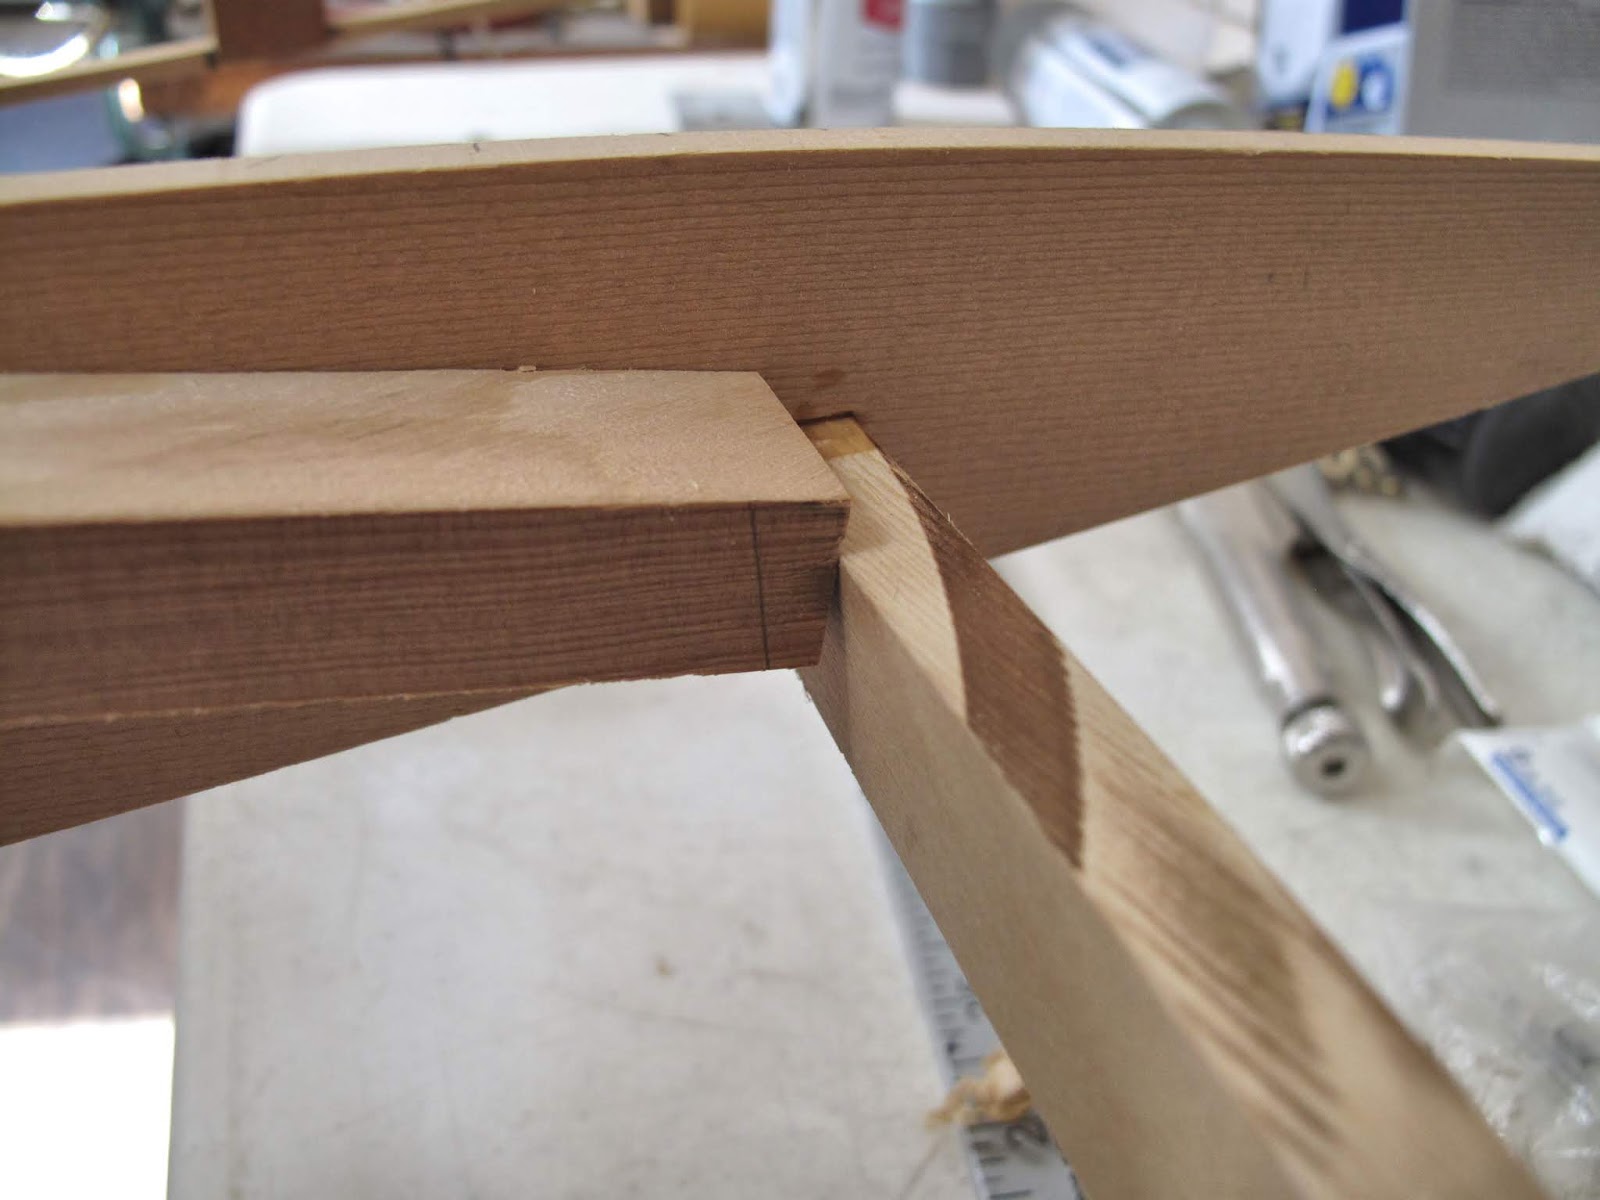
To support the wire the ends of the ribs need to be square, not pointy, so there is a surface for the wire to bear against.

I had planned to make a fixture for the table saw, like I did for the Lead Edge wood on the nose ribs.  I forgot to do that and built the first 2 wings with pointy ribs.

I decided to make a fixture which would work for the ribs for these next 2 wings, but could also be used to go back and trim the ribs on the first 2 wings
After much rechecking dimensions the cut needs to be 20 3/8" from the rear face of the aft spar

For my fixture I used a piece of 3/4" plywood.  I need to cut out some holes in it to clear some diagonal braces on the wings so I needed it thick enough that it shouldn't break once I make those cut-outs.

There are 3 reference points to assure the fixture is in the correct position on the rib.  The 1st is the forward end of the fixture which rests against the rear face of the spar.  The 2nd, right behind it, is a block which holds the fixture in the correct vertical location.  The 3rd is forward of the trailing edge.  The rib sets down in the pocket resting on the 3rd stop.

I made a pocket, with another piece of 3/4" plywood,  just to get better control of the cut-off saw location and angle.  I wanted a nice square cut.
I used the square on these ribs to simulate the spar.

Once the rib was in the fixture correctly I clamped it in place at 2 of the vertical sticks.

A few gentile strokes with the X-acto Saw and the job is done, next rib.


A nice square end to each rib.

Look like I need to build wings.


Friday, July 10, 2020

Upper Right Wing - Tip Rib and Tip Bow Braces


 Building the tip rib went about the same as the last wing.  I fit the end of the rib capstrips an glued the rib in place.  The vertical sticks were glued to the spar. 
 Once the glue was set the corner gussets, at the spars, were added.  The bracing sticks and their gussets were cut to fit, and glued in place.


The lower rib stringer and the filler blocks along the bottom of the rear spar were finished.

I still need to add the upper rib stringer and a couple filler blocks on the top of the rear spar, and carve the tip bow to shape.  I think I'll move the wing to the driveway to do that.  I made a sawdust mess in the shop last time.

Sunday, June 21, 2020

Lower Left Wing - Tip Rib Installed

The WACO drawing says this last rib at the tip is built in place.  Despite that there is a drawing for this same rib on the WACO TEN.  Even that drawing only partially builds the rib.  I used that drawing to build most of the rib.  The plan now is to finish it to fit in place.  Instead of diagonal sticks the rib just has long skinny gussets glued on the outboard side.  There are 2 gussets on the inboard side once the diagonal tip braces get added.
 I had marked the location of the rib on the spars when I was drilling the bolt holes so my first step was to mark where the rib is attached to the tip bow.  The 4' straight edge and a couple clamps made this easy.


 Then I fit the rib and clamped it in place.  The capstrips were made longer than needed so they could be trimmed to fit.

 Th angles are all compounded by the curve of the bow so I left a little extra wood when cutting.  This allowed me to grind a little and test fit until the forward ends fit the bow nicely.

I held one stick free of the belt sander while taking a little at a time off each stick.

Once the forward ends fit well the same process was done for the aft ends of the capsrips.

 The rib was then glued in place with small sticks between the capstrips at he spar, just like the full light ribs.  These small sticks were glued to the spars so corner gussets could be added once the glue is set.  The taper of the spars at this point means there is only a corner of the capstrip touching the spar.  I puddled some glue under this corner and used a couple nails to hold the capstrip in place.  They held fine while adding the gussets.  It's there to stay.

 I added a corner block where the forward ends of the capstrips join the tip bow as well as gussets to attach the rib to the vertical sticks on the spar.  WACO glued a block to the bow between the capstrips, then just nailed them to the block.  This seemed like a very weak joint.

 The same process was done for the aft ends of the capstrips and rear spar.

The next step is to add the diagonal tip bow support sticks.


Thursday, June 4, 2020

Lower Left Wing - Wing Walk Plywood Nose Support


The nose ribs need some blocks between them to attach the plywood for the wing walk.  The drawing isn't clear on how this is done.  I decided I needed the blocks square to the leading piece so I could tie them together with some glue blocks.

I need to cut off a big triangle.

I decided the easiest way to remove the wood on the small block was to plane it off.  I clamped a couple pieces of wood on my bench hook to help hold the block for sliding sideways.  The plane needs to clear the stop block on the hook.

A minutes work and the job is done.  I left a little to remove after gluing it in place just to be sure it fits well.

A nice fit, now one more for the other rib gap.

It made it easy to fit the blocks for gluing the leading edge to the ribs since the bottom end is square.


A little clean up with the band file after the glue set and they're done.


The block I'll use behind the leading edge when I glue it on.  I won't install them until the leading edge is on so it's easier to get a good fit.
Now we can put the capstrip on the bottom of the other rib.  On the next wing I'll put all the blocks in before putting on the capstrips for both ribs.


 The nose and center portions are done.

 I've still got some more blocks to put in for attaching the plywood at the trailing edge of the wing walk.  I'll also need to varnish some of this before attaching the plywood to the top of the ribs.


Wednesday, June 3, 2020

Lower Left Wing - Wing Walk Nose and Tail Ribs


Another good example of how it's easier going a little slower.  With the center porting of the ribs done it's easier to clamp the aft portion and the nose ribs in place.

I guess I should have bought more clamps.  I only have enough to do the lower capstrip on one rib at a time.
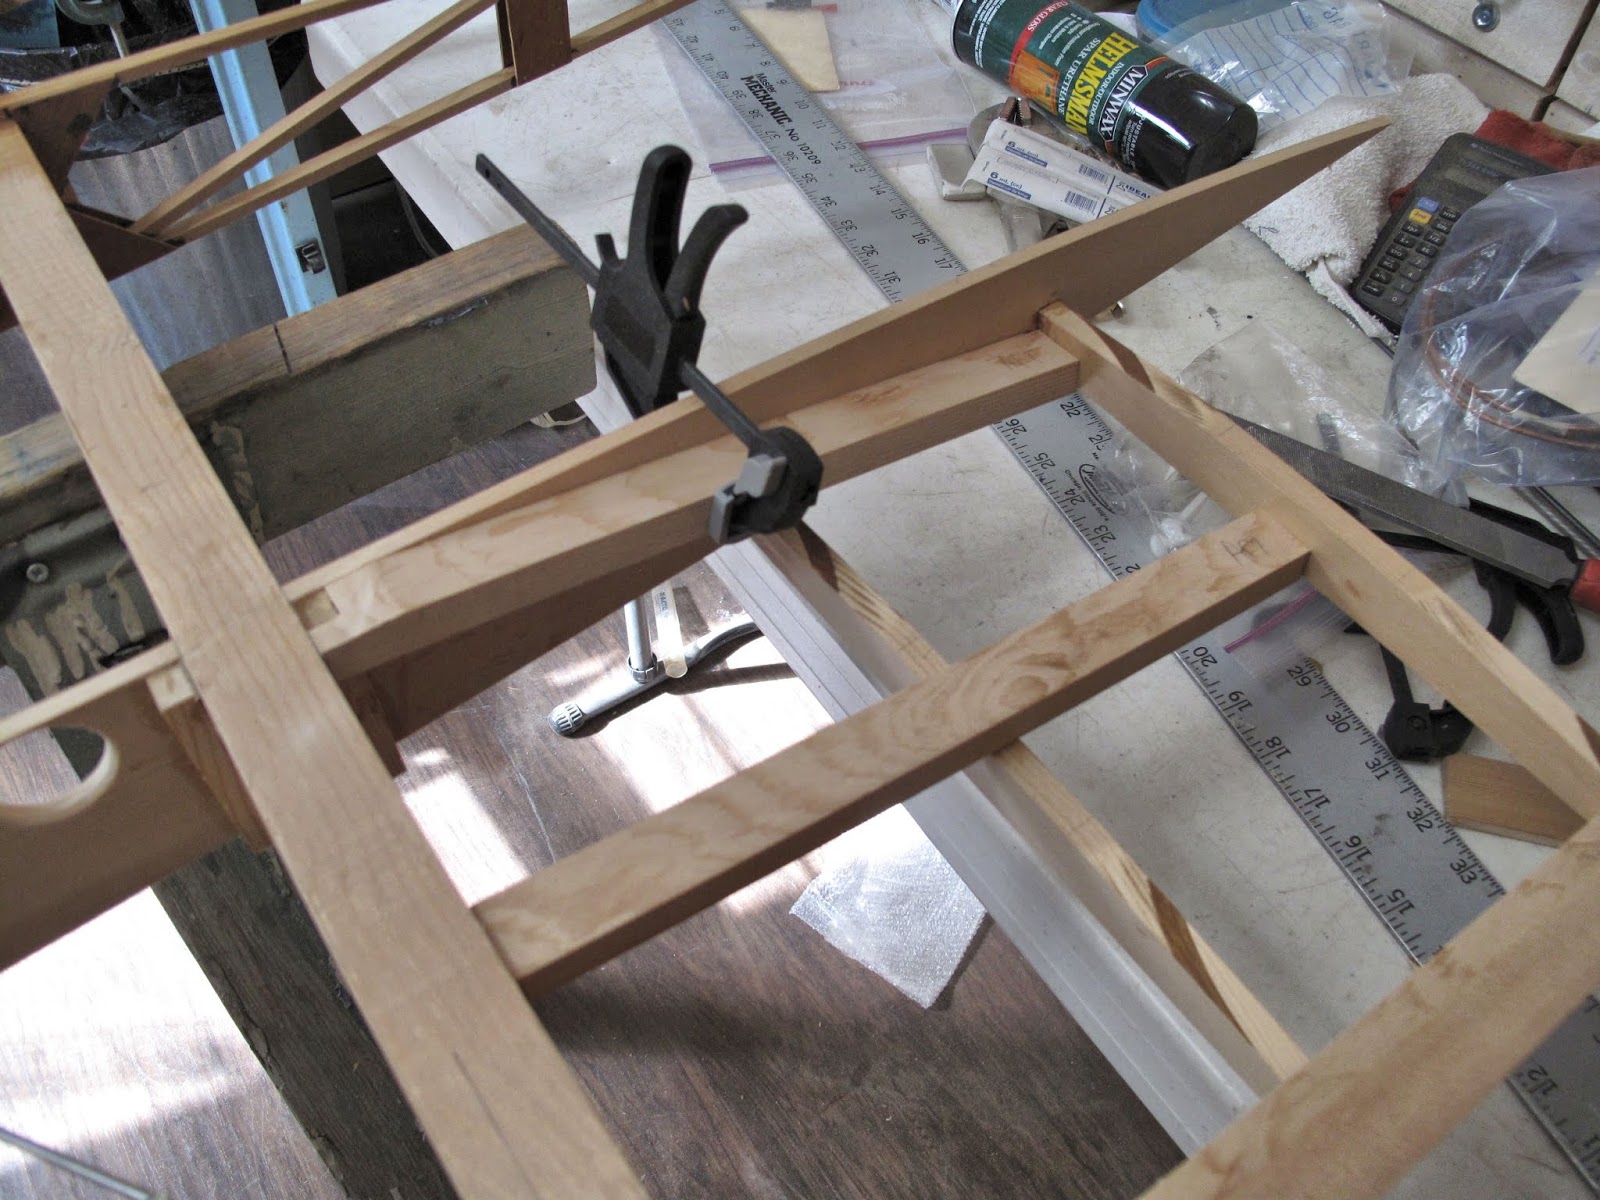
I'm glad I didn't do both capstrips.  It's easier to fit the diagonal braces from the spar to the aft wing walk support.

I clamped one to the rib as close as I could to the angle it will be installed, just offset to clear the support and the spar.
The diagonal is at an angle to the support.  If I left the end square there would be a gap.

By using a thin block of wood held to the support I drew a cut line on the diagonal.


At the front spar the block allows a line which at the face of the spar, so the aft end has to be cut and placed touching the support to get the length right.  Better to be a little long and grind it down to fit tight.

With one made, the other 2 are the same length and angles.


The ones against the ribs need a notch at the forward end for the rib corner block.  With the band saw, band file and bastard file I got them both to fit tight.

All glued and clamped.