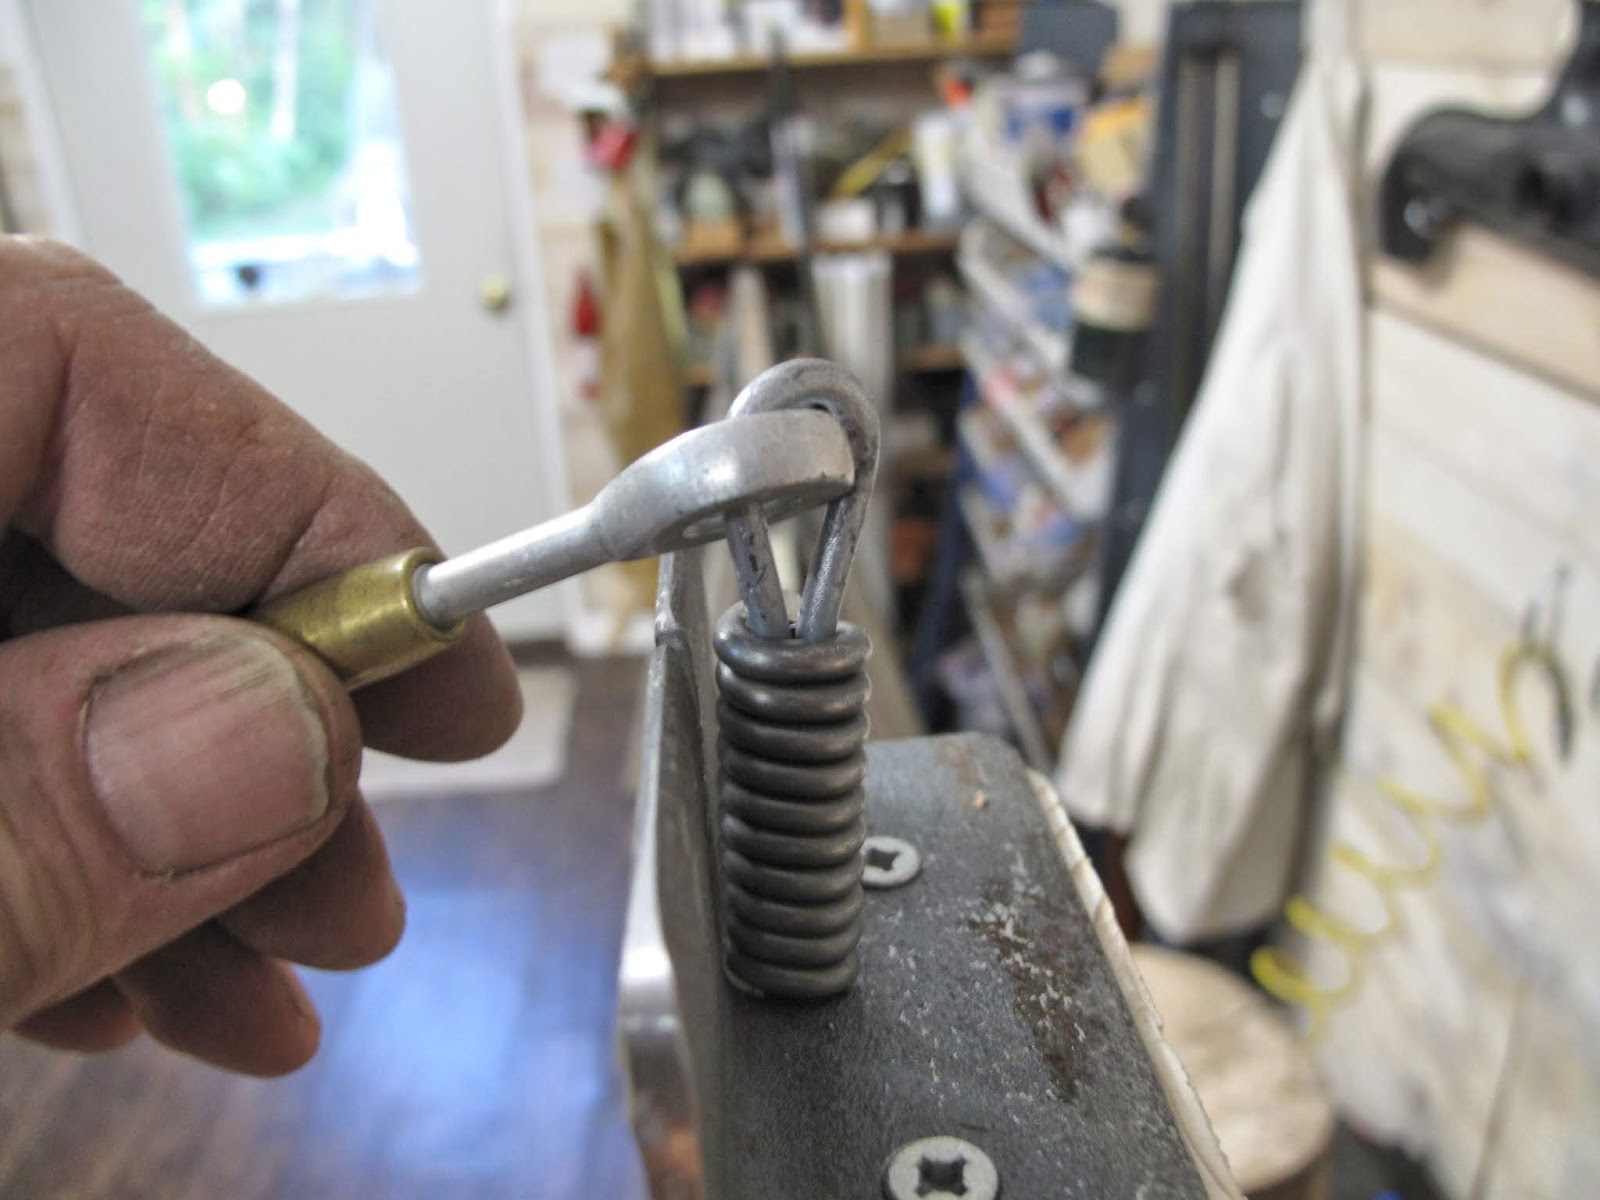
The wires are formed, and the fittings and turnbuckles are in the loops. Now I need to slide the ferrules tight to the loop and bend the tab over. Unfortunately the ferrules fit very tight, even if the 2 pieces of wire are very straight. I experimented with several clever ideas for how to seat the ferrule, well maybe not so clever. I finally figured out a simple process for all this which seems to work well.
First off the wires are about 5 feet long and bend easily so I needed a stand tall enough to keep the end of the wire off the floor. Hanging vertical seems the only safe position.
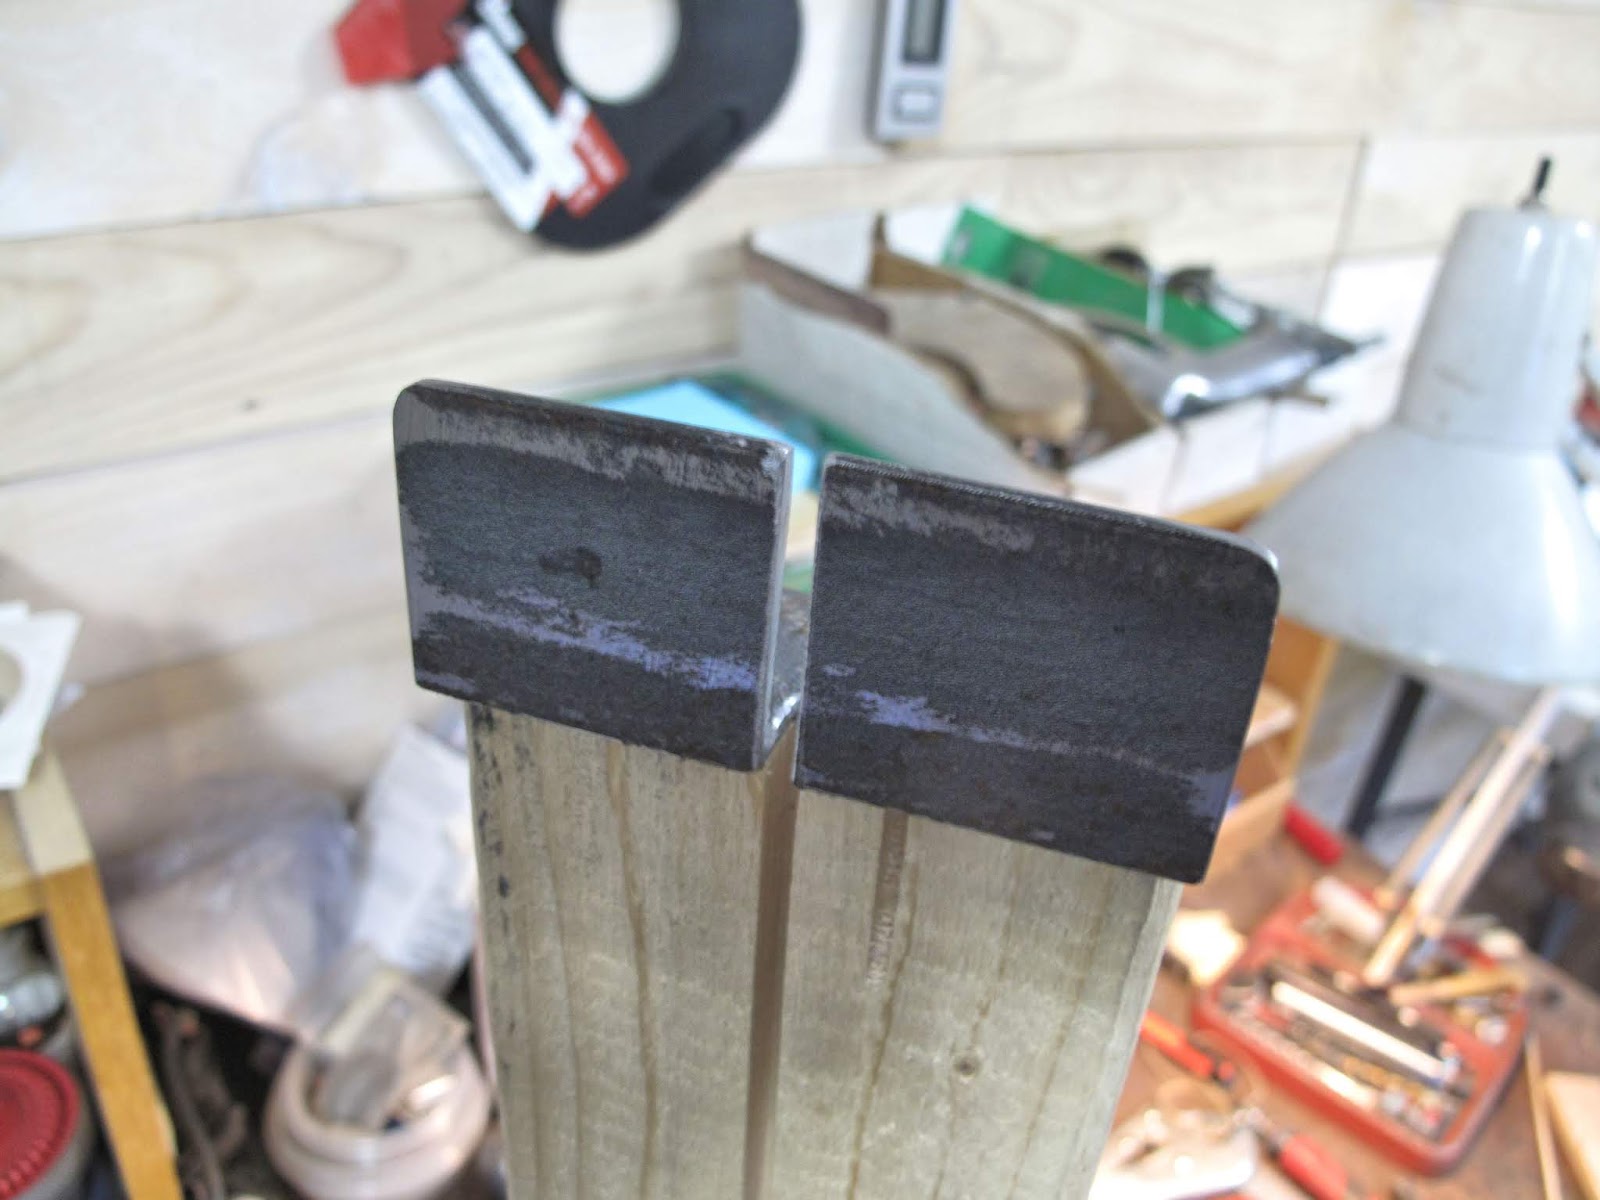
All this resulted in a stand I can clamp to my work bench. The long piece of 2x4 has a slot sawn in it for the wire to dangle in, while pounding the wire down into the ferrule.
The base board allows it to be clamped to the workbench and the angled pieces, nailed in place, make it all rigid.
The end of the 2x4 is too soft to last long pounding on it so I added a piece of 1/8" x 1 1/2" steel angle. I still have 84 ferrules to do in the fuselage when the wings are done. The slot makes it easy to set the wire and ferrule in it. The vertical leg of the angle traps the ferrule with the wire in the slot.
The ferrule is trapped on a solid surface and the free end does not touch the floor.
Before putting the clips and turnbuckles on the wire ends all the Loops were painted. I did them now so the clips and turnbuckles don't shadow the wire and so I'm only painting the wire. I'll paint the ferrules and main part of the wires after finishing the ferrules.
The ends with the wire clips cause a little problem. There is no way to pound directly on the end of the loop because the clip is in the way. I suppose I could pound on the clip, too tacky.
I made a pounding block from a piece of 1" square oak with a notch to fit over the clip and wide enough to just clear the eyelet.
You just pound it down until the ferrule is firmly seated against the loop.
With the turnbuckle end you just use a plastic mallet and pound directly on the loop. So easy.
The next thing is to bend the free end around the ferrule to lock it in place, without bending or nicking the main wire.
I clamp it in the vise tipped like this so it won't rotate up when I bend the free end.
I start with my modified Vise Grip pliers about 1/16" from the end and start the bend up just enough to move the pliers in closer. I want the bend tight to the ferrule.
With the pliers re-positioned I bend the end up to about 90 degrees, as far as I can until the pliers touch the ferrule.
Reposition the pliers, rotated 180 degrees, then bend to the ferrule.
To close the bend a little further I squeeze it in the vise.
It leaves a fairly tight bend which will give 85% to 90% of the strength of the wire. I use the loop shaped like an AN100 thimble to minimize the stress at the bends. A more round shaped loop will break at an even lower load.
The WACO Factory used tinned wire and soldered the ferrule after making the locking bend. I can't get tinned wire, which has Hydrogen Embittlement problems that can cause the wire to fail. To tin the wire you have to use very aggressive flux containing hyrdo-whichever acid. The hydrogen gets trapped under the tinning, eventually penetrating the steel matrix preventing it from flexing. It shatters instead.
NACA Report No. 3 says that soldering adds no strength to the joint. They recommend wrapping the free end with wire to lock it in place, adding a little more strength to the joint.
To do this I clamp my modified pliers in the vice and use them to hold the ferrule and keep the free end tight while wrapping with safety wire.
I use 3 turns with 0.041" stainless safety wire. Twist it tight. Fold the cut end under for safety. I am so tired of bleeding on everything. Then release it from the pliers. It looks like the picture in Report No. 3 only I use 3 turns they used 1.
The safety wire sets nicely in the grooves of the ferrule.
Solder may not add strength but it seals the ferrule joint and protects it from rusting. I wanted to create the same protection for all my hard work.
I was planning to fill them with epoxy but it is too viscus and will not flow into the voids without a vacuum to pull it in, much to much work. Instead I seal the outward end with a dab of 5 minute epoxy. I'm creating a little cup with the epoxy making the bottom and the coils of the ferrule making the sides.
I like to control the mix of small quantities of epoxy with 2 equal size circles for a visual guide.
I'm using a bamboo skewer to mix and apply the epoxy. The point is nice for applying and you just cut off the used end and resharpen it for each new batch.
I let this seal, on each ferrule, cure for 5 minutes hanging on a peg seal end up.
After the seal cures I fill a small syringe with Oil based spar-polyurethane varnish to seal the inside of the ferrule and wires. I think I found these for giving babies small amounts of medicine. They say monojet on the side and hold 1.0 ml.
I slowly drip in 0.3 ml of varnish. Then I hang them to dry for a day. I wrap the clip or turnbuckle with foil in case a little drips out.
When the varnish dries you can see it has just penetrated between each of the coils. Everything inside should out last me and the grandkids anyway.
The ferrules and wire get a coat of primer and 2 coats of metallic Rust-Oleum Satin Nickle.
Yea!! We can finally build a wing.