Monday, December 6, 2021

Sawing Spruce Boards Into Spars

 I've finally started sawing spars from my stack of spruce.  I started by inspecting all the boards and picking out the shortest ones with good sections long enough for the 2 wing spars.

The first step was to saw 2 boards to 4" wide.  The spars are 3 5/16" tall.

The boards are 17 feet long and I was able to saw them by myself with 2 sets of rollers on each side of the saw.

The next step was to re-saw them with the bandsaw.  Shopsmith makes a 5/8" blade specifically for re-sawing boards.

I split the board to have a 1 1/4" wide Aft Wing Spar and a 1/2" wide Forward Aileron Spar, plus an extra 1/8" available to plane off each.

I made a fence for the bandsaw with a piece of 3" angle iron clamped to the table.  


I used the featherboard to hold the wood tight at the bottom.  Shopsmith makes a feather board that you can stack up to 4 high just for this type work ($90).

The instructions for the 5/8" blade were to run it at 500 RPM to prevent overheating.

When sawing long boards a wedge can be useful to keep the saw cut from closing and binding the blade.  It wasn't needed with the bandsaw.


The kerf is very clean and narrow.

It measured 0.030" wide, about 1/3 the width of the 10" circular Rip blade I used for the first cut.

I went real slow and the first board came out perfect, straight down the board, and straight and square top to bottom.

The second board I must have pushed too hard and the blade curved into the wing spar, leaving extra wood to plane off the aileron spar.  In the end the wing spar would be less than 1 1/4" after planing in order to clean both sides.  

I'll plane it down for another project.  I bought enough wood to rebuild the monoplane wings for our Fly Baby.  The old ones were lost in a hangar fire.  It's licensed to use either the monoplane or biplane wings.  The monoplane wings work better for trailering to events because they fold in about 10 minutes.  This board will make a nice rear spar.

On the 3rd board I decided to try a different approach.  I've never had luck lining up 2 deep table saw cuts to meet in the middle of the board, so I tried a 3 cut approach.  I made a 1 1/2" deep cut, took the board outside and flipped it end for end, then made a second cut on the other edge.

I used the bandsaw to connect the two assuming the blade wouldn't wander so far off the cut line.

It worked perfect, 2 nice boards ready to plane down.

You can see below how the blade wandered but never cut into either spar.  They'll both plane down perfect.

I had bought a couple 10' boards to use for the aileron Aft Spars.  The rings were at slightly more of an angle than I wanted.  I got the idea to cut the board in half at about the angle of the rings.  Then I used this surface to re-saw the boards.  My first cut was along the line running almost corner to corner of the original board.

It worked perfect.  I used the wedges to cut, quarter sawn, 1 1/8" x 3/16" laminations for the wing tip bows.  I ended up with only a small bundle of tiny wedges for scrap.  I needed 8 laminations and ended up with 9.

Time to do some thickness planing.


Thursday, October 21, 2021

Spruce For Wing Spars

 In January 2020, pre-Covid, I found one of my rear spar blanks was defective.  I also drilled a hole in the wrong place on another rear spar,  I ordered 2 new spars from Aircraft Spruce, not realizing 1 1/2 years later they wouldn't even be able to give me an expected date for them to have spar quality spruce.  While I was at the Antique Fly-in, Blakesburg 2021, a fellow Fly Baby builder, Kurt Gubert told me about an old lumber yard in Detroit who had some spruce that might work for my spars.  

Our Fly Baby is currently a Biplane, but it's licensed to switch to Monoplane wings, or back, with a log book entry.  Unfortunately the wings were ruined in a hangar fire years ago.  One of my projects is to rebuild the wings, but I need more spruce.  I want the monoplane wings because it's easier to trailer to events.  The monoplane wings fold or unfold in about 5 minutes.  That was the reason Fly Baby won the EAA design contest back in 1960.  The biplane wings take at least an hour each way.

Before you get crazy, Sitka Spruce is a small part of the several woods they stock and it has not been Certified as spar quality wood, that's up to you to resolve.  A good reference is ANC-19, Wood Aircraft Inspection and Fabrication.

That lumber yard is Public Lumber.  They've been there since 1927.

They're at 7 mile and I-75.  I took the picture of their store form the other side of 7 Mile Rd.  Look to the left 90 degrees and there is the entrance ramp to I-75 northbound.  It is in Detroit, in a residential neighborhood.  I met Craig and Tom, both super to work with.


It's a real lumberyard and full-service millwork facility, the smell of fresh wood, and the sounds of cutting and milling.  They even make their own custom cutters for their millwork.  People after my own heart

The spruce is in the lower bay of the rack at the left of this picture.  The boards are rough saw, 2" thick, 6" - 12" wide and mostly 16' - 20' long.  

They left me to sort out what I wanted.  The aisle is about 12' wide so it takes some thought to pull boards all the way out.  I had a great time examining and restacking boards.  I believe I found enough wood to make my WACO Spars and rebuild the Monoplane wings for our Fly Baby.  It was very fairly priced and I was dancing happy when I left.

It was cool when I got there.  As I worked and warmed up I took off my sweater, Christmas present from my wife.  I left it setting in the bay above the spruce with a tape measure I found laying under the rack.
I went on from there to visit my parents up by Flint.  The next morning I realized I'd forgotten the sweater.  Tom boxed it up and shipped it to me.  Thanks Tom for saving me from some serious dog house time.

I borrowed my son's Transit van to pull the Fly Baby trailer.  It's much nicer than my 24 year old Chevy van with 355,000 miles.

The weather was sunny and dry so I didn't worry about protecting the wood from the weather.  It all stayed strapped down and towed very well.

The round trip was almost 1,700 miles, well worth it.

The wood is safely home in my attic workshop.  

The next step is to pick out boards for the WACO spars.  Then the scary part, cutting them up.


Sunday, March 28, 2021

New Canvas Map Case


On the right side of the pilot cockpit was this nice canvas map case.  The Nicholas-Beazley catalog called them Maps not Charts.

On top of the upper fuselage longeron there is a piece of wood routed to set snugly on the longeron.  It's wrapped with pinked reinforcing tape to hold it in place.  Things like the throttle and the hook for the seat belt are screwed to this piece of wood.  The top of the map case is also screwed to it with brass #6 round head screws and flat washers.  

There are grommets in all 4 corners for screwing it on but it must have been a customer add on because the lower grommets are about 1" below the stringer it is screwed to.  


In the end I think it would be better to just poke a small hole for the screw and nor weaken the case with grommets.  The grommets ripped out and the to lower screws through the seamed edge were still secure.
Something must have been stored in the case which made the canvas rot faster around the edges of whatever it was.  The front has the same pattern but is so rotted it's harder to see.

The case is made of one piece of canvas folded at the bottom.

The sides are folded over about 1/2" and the front and back sewn together with a double seam.
The top of the front, and the top flap have, a 1/2" edge folded under then a 1" folded edge to form the hem.

The flap is closed with a snap, with a sewn patch on the front for the snap.

I found some #8 untreated Duck Canvas for the main case.  I used some lighter canvas and some vinyl sail window material to add a pouch for the registration and airworthiness certificates.  They didn't have these back then.  The feds issued a metal plate that you attached to the airframe which served the same purpose.

I also embroidered it with the WACO logo as it was painted on the rudder in 1926.

The pencil case didn't look like it was ever used.  I'm not sure pencils would actually fit so I made the 3 pockets looser.

Now I just need to finish the fuselage and we're ready for a cross country trip.


Tuesday, January 5, 2021

I Found A Source For the Upholstery Materials

 My WACO was built to be the Model T of the air.  So it seemed reasonable to look for Model T materials.  Classtique Upholstery has the materials for people restoring Model Ts.

The edge beading is called Hidem Welt.  It looks to be exactly what I'm looking for.  I'll figure out what materials I need for seat cushions, side panels, cockpit coming, etc. and get some ordered.  I have the drawings for the WACO 10 seat cushions.  That should be a good start for making some for the NINE.


Sunday, January 3, 2021

Removing the Aft Cockpit Cowling


My Plane was purchased on the 20th of June and delivered on the 30th.  These 2 pictures were taken on the 28th.

On the right they are lacing the cockpit coming to the cowl after it was painted Valspar Dutch Blue.  The fellow on the left is also seen in the picture below Installing the cowling piece on a fuselage.

The originals of this whole group of pictures are now at the WACO Museum so I have hopes of one day scanning them at very high resolution to see what other secrets they hold.

Here's the same piece on my plane, just 96 years later and with me sitting in the middle.  My father was 1 1/2 years old when this plane was built.  

I've had the fuselage since 1996, but because of the every fragile condition of the seat and floor, I've never sat in it.  I've been doing all this without even knowing if I fit in it.  I decided now was the time.  With the cowl piece removed I was able to support myself on the lower longerons getting in and out so I don't think I damaged anything.  Once I was in we set the cowl back in place, while I worried the seat would collapse.

It's wider inside than our Fly Baby, but much less forward leg room.  I should be able to fly it just fine, but it's short.  It feels like Olde Tyme Flying just sitting in it.  Very Cool!

Even with a cushion on the seat, I set very low.  It's about like the back cockpit on John's D model WACO.  Just your head is sticking out, even for my 6' 4" frame.

The windshield should give good protection without goggles.

Now I see why my granddaughter calls me Grumpa.  This is my relaxed and happy face, really, I was enjoying this.

A portion of the front cockpit cowling still exists.  It was used to cover up the back half of it when they cut off the fuselage to make an air boat.  The big hole is for the gas gauge.  The row of little holes are for the screws which attached it the the forward dash panel.  I have some of the scrap which was cut off when they shortened this panel.  More on it in the future.

The aft ends of the front cockpit panel and the forward ends of the aft panel are separated by about 8 inches.  When you climb in or out of the front pit you support yourself directly on the upper longeron not the aluminum cowling.  

In the aft cockpit the rolled edge of the opening is about 5" up from the longeron.


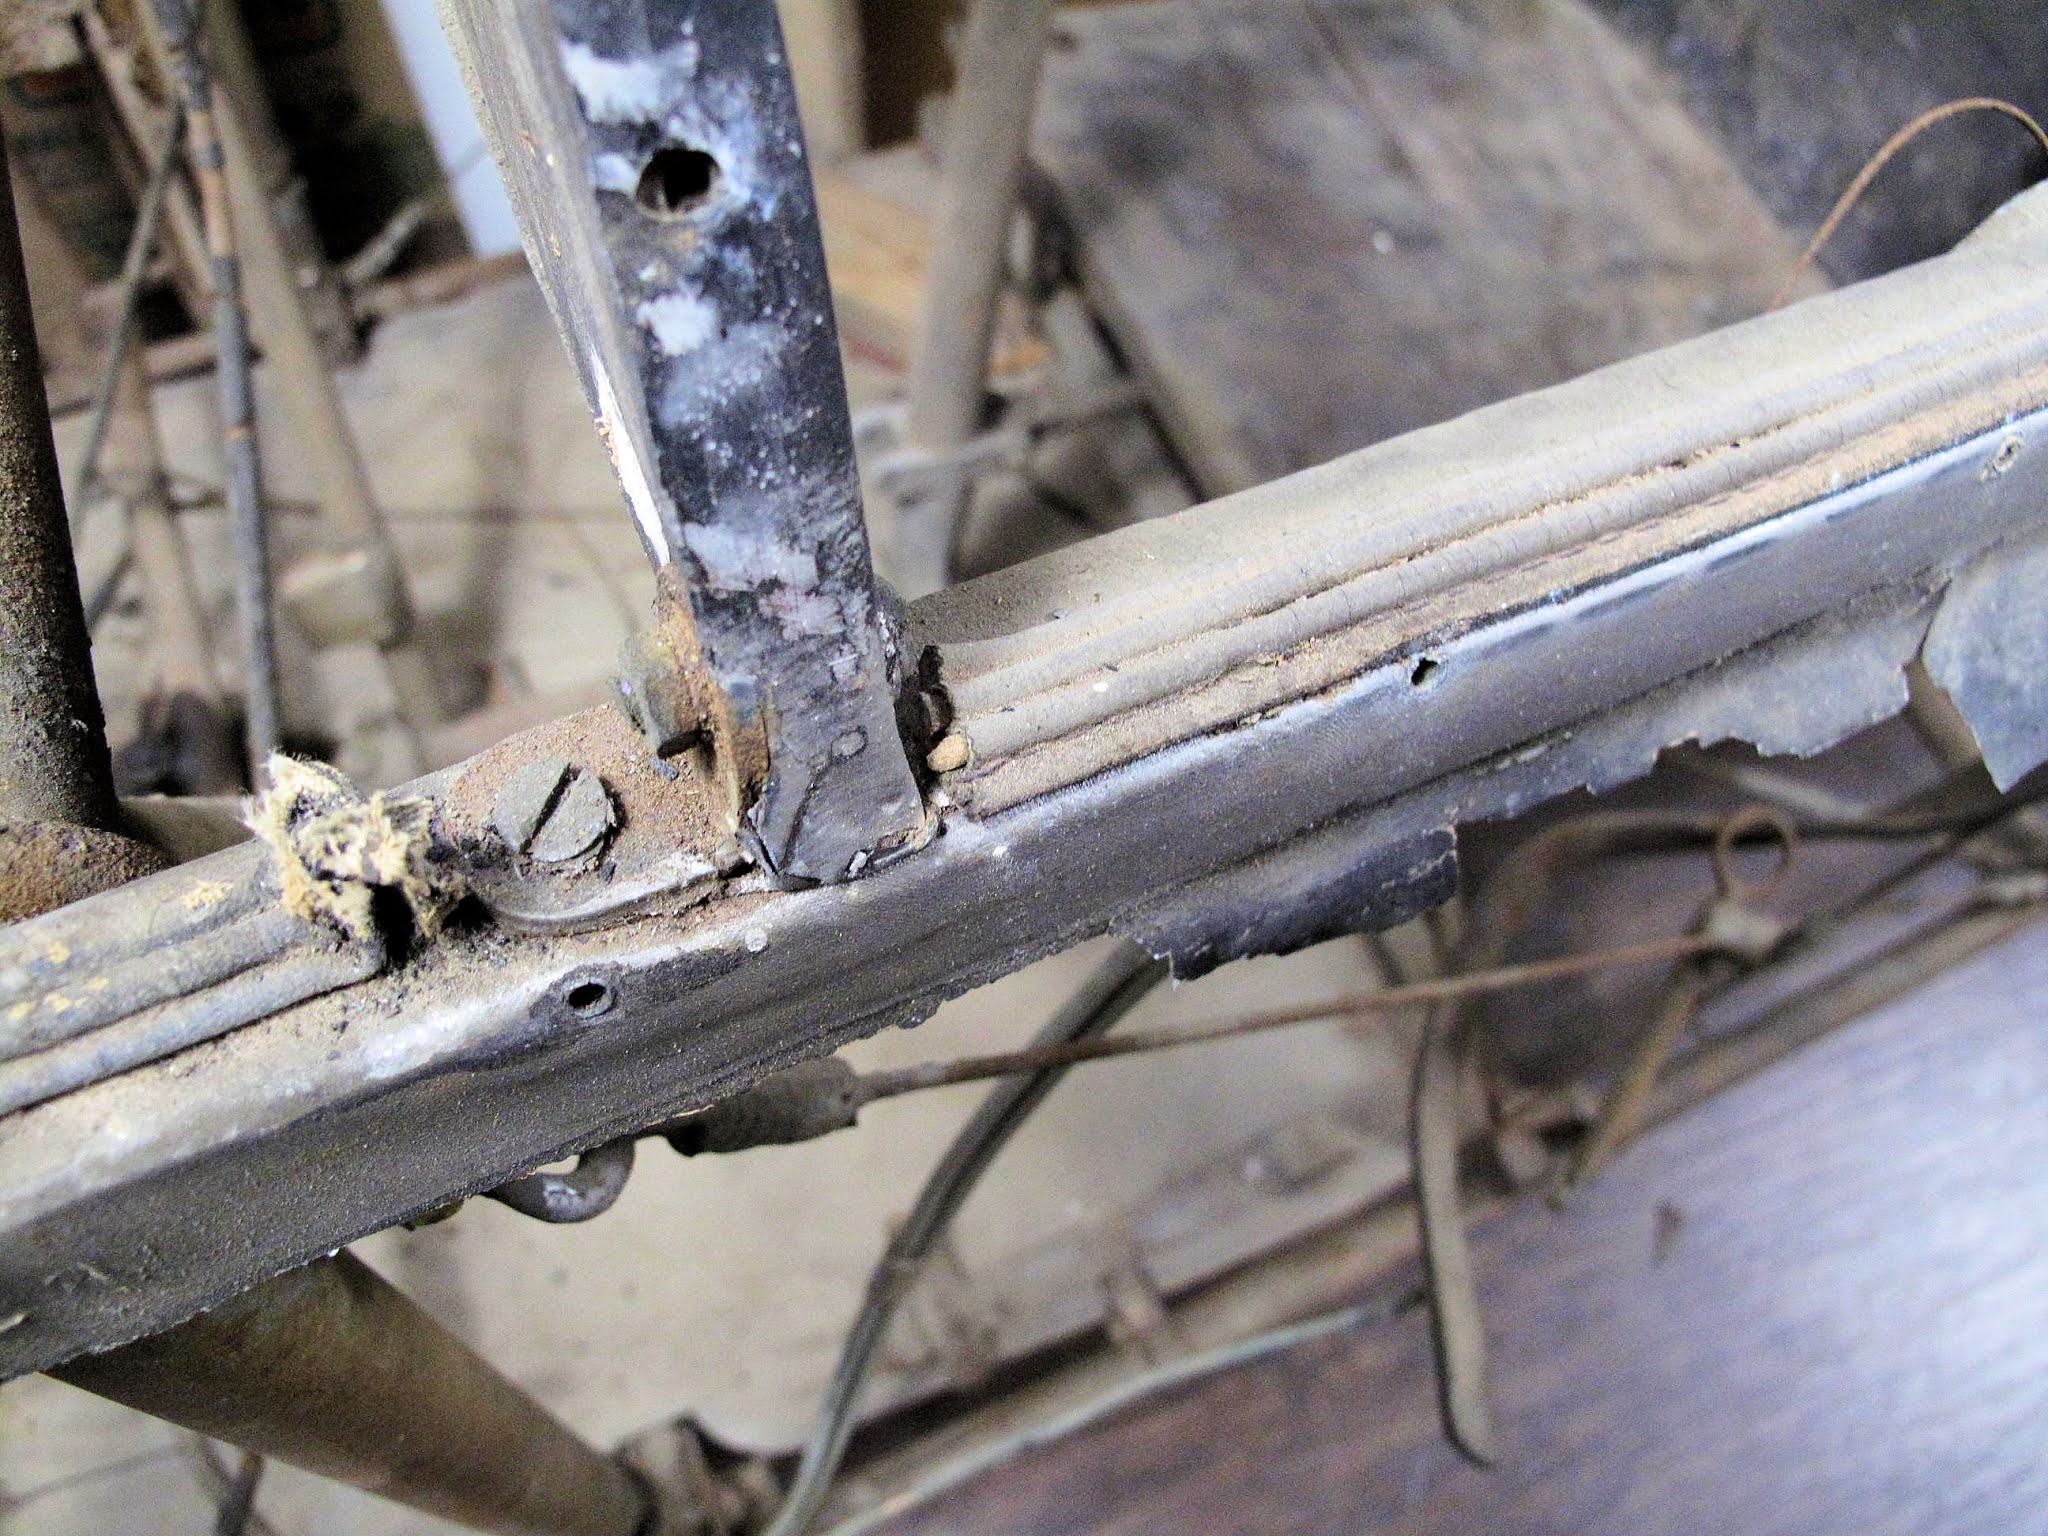
To make it stronger, so the aluminum won't bend, they added a stiffener.  It's laced on at the top with the soft combing and screwed to the wood on the longeron.  

There is a nice hook next to it for hanging the seat belt.  I need to do that on our Fly Baby.  The belt is a pain right now, always getting caught on something.


They screwed the stiffener on with #6 x 3/4" brass wood screws and brass washers, just like the whole cowl piece is screwed on (42 screws).  I like the old tyme look of brass screws with the painted aluminum.  Much more of a WWI era look.
The Leatherette for the cockpit coming is padded with cotton batting and laced on with wide shoe laces.  
Along the top edge of the turtle deck forward former and the top of the longeron they used a strip of beaded trim.  It looks like something I've seen on old buggies.  It gives a nice finished edge to it.  On the edge of the former it hides the end of the covering fabric, which laps over the corner.

This trim strip has 2 beads neatly sewn in a piece of leatherette.

The beads separate so you can tack it down then roll back into position hiding the tacks.


It's tacked to the wood with standard upholstery tacks.  Looks like a good use for my 7th grade metal shop tack hammer.

On the longerons there is a piece of wood shaped to sit tightly on top of the tube.  It's held on by wrapping it with what looks like 2" wide pinked finishing tape, then doped through to silver.

After removing a piece of the beading, in what little is left of the front cockpit, I found the remains of some "black chase leather".  The sales brochure says:  "The passengers' compartment...  is completely lined in black chase leather."  OK, it's leatherette but I'm sure it looked welcoming to anyone with a buggy or early automobile.

My objective was to get the turtle deck off so I can repair it.  I plan to repair the aft cowling piece and reuse it, but first I'd like to repair the wooden turtle deck.