The Drag and Anti-Drag brace wires in the wings are made from 0.125" music (Piano) wire. It comes coiled and when you unband the coil it's about 27 inches in diameter. If you've ever worked with 1/8" piano wire it's very stiff. There is no way to pull it tight enough, with turnbuckles in the wing, to take the curl out of it. You need to mechanically straighten it by bending it in the opposite direction. If you could get a good enough grip on the wire you could probably do it by hand.
Generally straightening is done with a set of grooved rollers to do the bending in the opposite direction. You can do multiple directions and the more rollers the smoother the straightened wire.
I can't afford such a fancy piece of machinery so the plan is to make a straightener using five 2" iron casters from Tractor Supply, about $8 each. The frame will be made of pine 2x4 and bolts made from threaded rod. Forty bucks is big budget tooling for me.
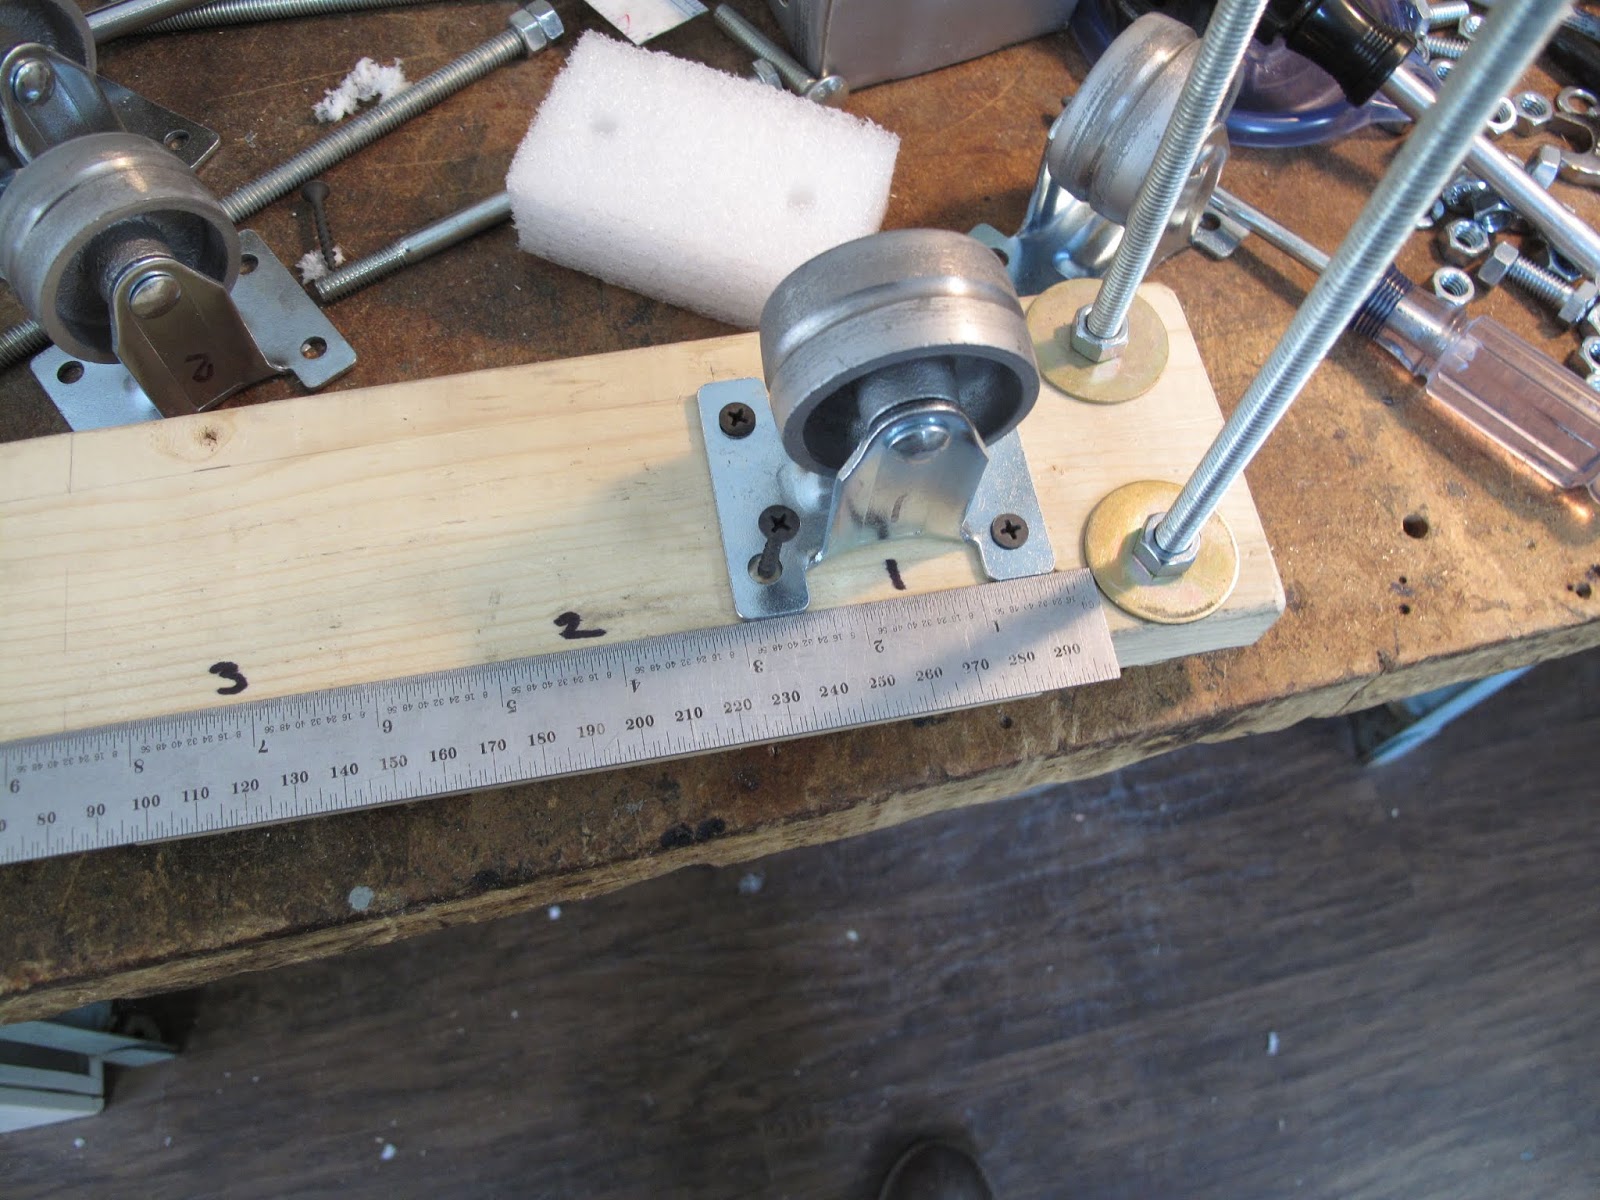
The idea was to cut a groove in the roller, with the band saw, then file it round with a 3/16" chain saw file, following the cut line.
I made a block to help limit the depth of the cut. It worked fine when pushing the blade, but the blade keeps cutting even when you are not pushing hard.
I should have made a "U" shaped pocket on the end, for the wheel, to help keep the cut centered better.
After filing the cut by hand, my last pass was to use the belt sander to spin the wheel to remove any small irregularities.
In hind sight I should have used the dial indicator to make sure there weren't any high spots. Before the final smoothing.
Doing all five rollers went quicker than I thought it would.
I made the frame from pieces of 2x4. I cut a recess at the ends for the bolt heads, and so I could use 9" bolts. The 36" piece of threaded rod makes four 9" bolts with 2 nuts jammed together for the head on each. Nuts and washers secure them to the base plate. I drilled the bolt holes in one plate then used it as a template for the other plate.
As it turned out I had 3 rollers which lined up nicely for the bottom set. I should have clamped them to the base while installing the screws because the kept moving with each screw.
For springs to hold the frames apart I used some blocks of EthaFoam, old packing material form something. The hole is for the wire to pass.
A piece of 3/16" rod between the rollers allowed me to align the upper rollers with the slot in the lower ones. I tried this with my chain saw file only to snap it in half, bad plan, very brittle.
This time I did use the clamps to hold the rollers and removed one at a time to add each screw, much better.
There are no bearings on these cheap rollers. Some #30 motor oil seem to work fine so they rolled easily. I tipped them at an angle and kept adding drops of oil while spinning the wheels. You could really feel the difference as the oil worked along the shaft.
I hung the coil from some c-clamps and clamped the frame to the work bench. You literally just push the wire through.
Adjust the bending of each top roller with the top nuts on the through bolts. You just make small adjustments until the wire comes out straight. Try it, pull it back, adjust, and try again.
With the wire in, I tightened the bolts so both washers on each end were snug, then adjusted both bolts at that end the same amount of a turn for each try.
It's easier to start the wire if the the end is rounded.
Wire going in curved from the coil and coming out straight after the rollers.
I'm going to go back with the dial indicator and true up the rollers a little better. You can really feel the high spots.
Then I need a tool to form the loop ends. John Gaertner sells a nice one from a WWI era design.
I had an idea. By using any 2 of the rollers as a rest I can use the chain saw file to find the high spots, by where it just rubs. Mark those areas and gently file them down. Good thing I had a spare file.
For the 2 roller half I found something to use as a rest along with one roller. It worked just as easy. It made a big improvement.


No comments:
Post a Comment