


I also found I left to much of an edge to weld nicely. All the literature says to leave about 1 material thickness. I left about 1/16", 2 thicknesses, way to much. At times it would melt around the edge leaving a blobby look. I also found that that the tab ends were easier to weld with the center layer, of the 3 layers of metal, sticking out about 0.010". The weld puddle is easier to form because you can get more heat into the middle piece.
The fixture I used for fitting the tube to the horn is used to weld the horn to the tube. One thing I learned is don't form the end of the tube to fit the training edge tube until this assembly is welded. Things move a little and you want the horn square to the spar tube.
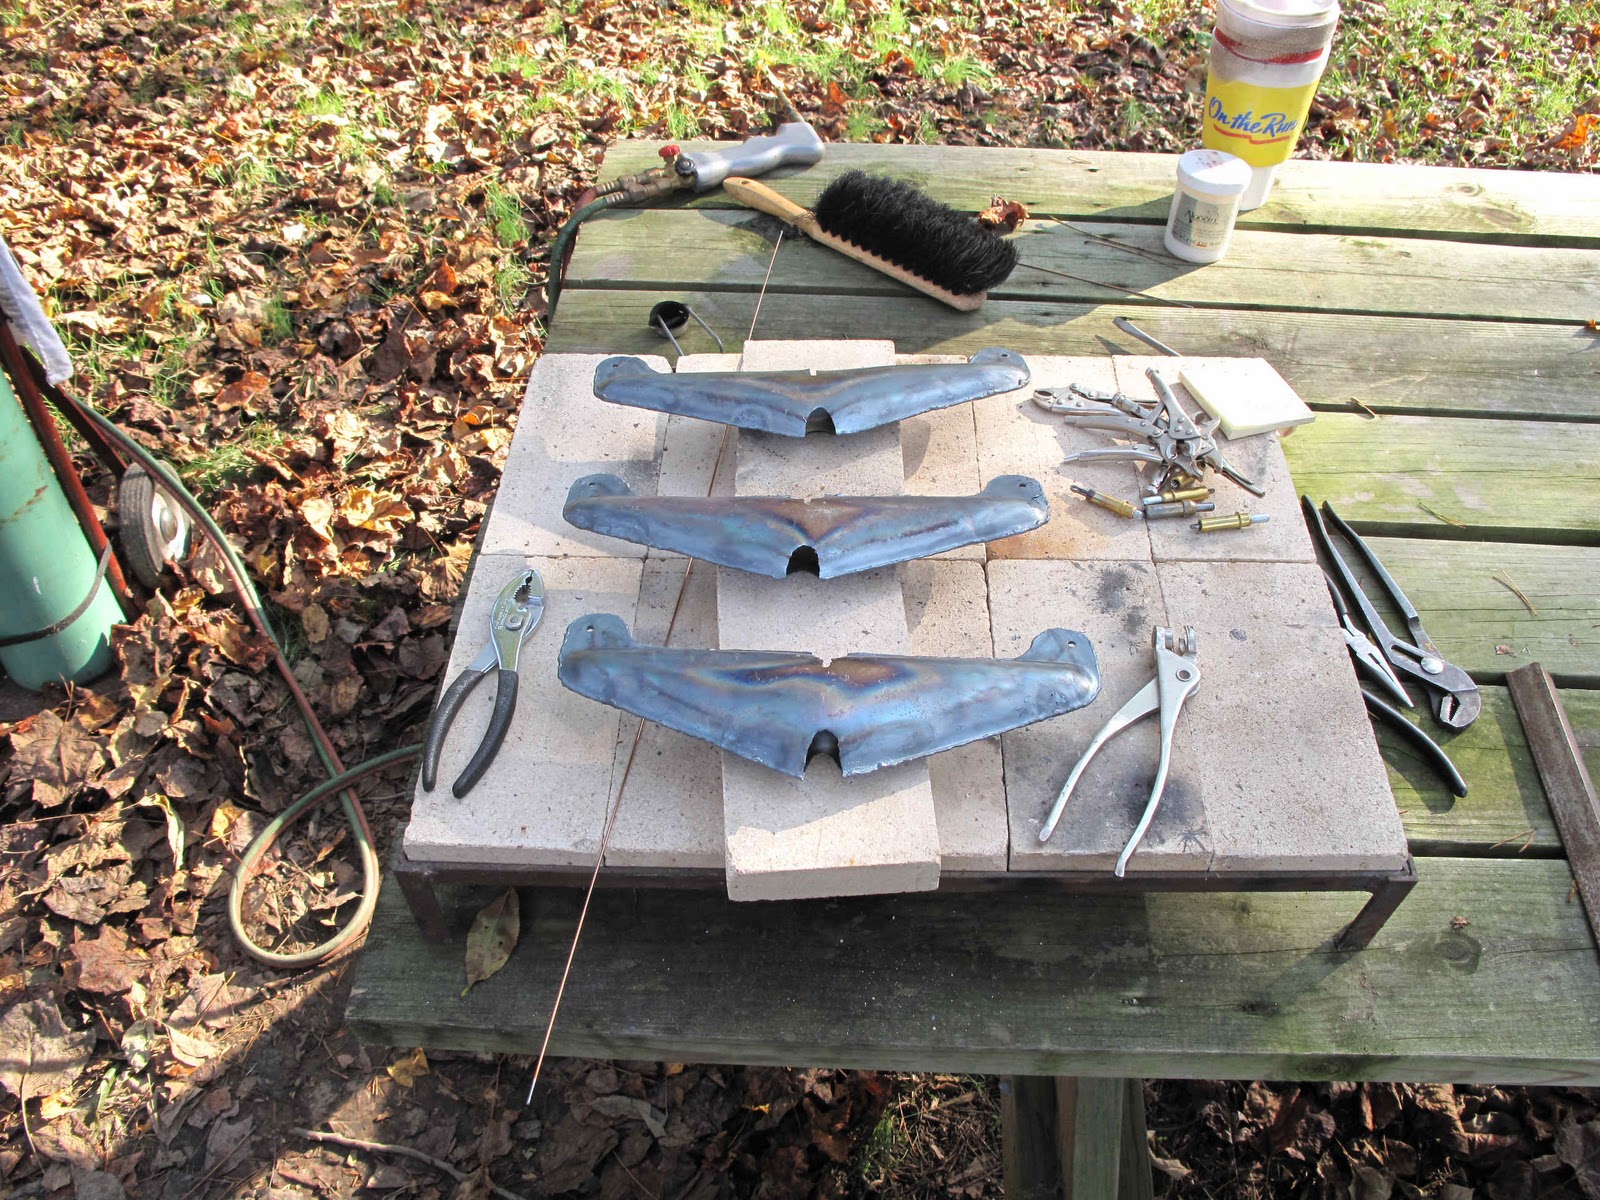
I now have 3 assemblies welded, 2 for the elevators and one for the rudder if I can't repair the existing rudder.


Wonderful post -Thanks for sharing this article with me and your reader. I have add your site to my bookmark for search any more article that I am search then I come for your site first for search.
ReplyDeleteChris Gilman Medford Oregon