I decided before I tried making the 8 gauge ferrules I'd make a new base for the winding tools so I could return Rich's spring winder. This way if I run into a problem trying to use my base I could still use his to get this done. I have a scrap piece of 5" x 3" x 1/4" steel angle left over from my brother-in-law's shop we built several years ago. Ah, the joy of something you saved and finally found a way to use.
I cut off a 4" piece of the angle and drilled holes to screw on the wire guide on the right and mandrel block on the left.
The guide is made from a piece of 3/4" x 1/8" angle with a 5/32" hole to control the wire. It's needed to control the angle of the wire for the pitch on the winding. I spaced it with a stack of washers so it could be moved Fore and Aft to change the pitch. The .125" wire needed to be more forward than the .081" wire.
The mandrel block is rotated left so the wire feeds across it and follows the slot. Winding the .125" wire is like bending pipe compared to the .081" wire. It is incredibly stiff. The .081" wire occasionally popped out of the slot. You just take your finger and move it back and hold it there while you finish that bend and keep on going. With the .125" wire DO NOT let it pop out of the slot or you will have to cut it off and start over. At the same time you can't hold it back too far or the winds will not be tight to each other.
I tried a variety of wire sizes to use for a mandrel with both the .081" and .125" wire. When you wind a coil the wire springs back radially, the coil unwinds making the Inside Diameter increase larger than the mandrel. When you make the oval loops that happens but the straight sides also stretched so some of the spring back shortens the gap for the 2 wires. In both cases I ended up using the same wire as the ferrule to make the mandrel and the spacer pin.
I made the winding bar by the same process as for the .081" wire. The differences are: I used a 10" piece of 1" x 1/2" steel instead of the 1" x 1/4". I wanted a few winds in the bar to handle the higher loads of the heavy wire. I also used 10-24 screws instead of 8-32. To make the oval I drilled a 1/8" hole and a 3/8" hole, 1/4" on centers. I didn't have 1 3/8" chainsaw file (do they make one?) so I used a 2 rat tail files. The hole wandered slightly but seems to work fine.
I used the same process to start the winding. The bends around the bar wanted to straighten. The wire is incredibly stiff but the bends just wanted to straighten out. Also the wire wanted to jump out of the slot. The wire stayed in the slot much better once I could use the bar with the coils in the hole.
It took several tries but I got the starting process to work by holding the loose end of the wire to keep it from unbending.
The handle fits the coils well. While the forces are higher it's still long enough to easily wind the ferrule.
Patricia's tap handle didn't fit over the loops, but I realized I could tighten it in the mandrel and pin. That seems to work fine. It slowed the process because you need to loosen it to move the pin and then re-tighten it. With the .081" wire it just stays on the coils while you wind. I'm sure I could find a larger tap handle or make something. I don't need many ferrules this size so I think I'll just use this, unless I have some bright idea for a simpler indicator.
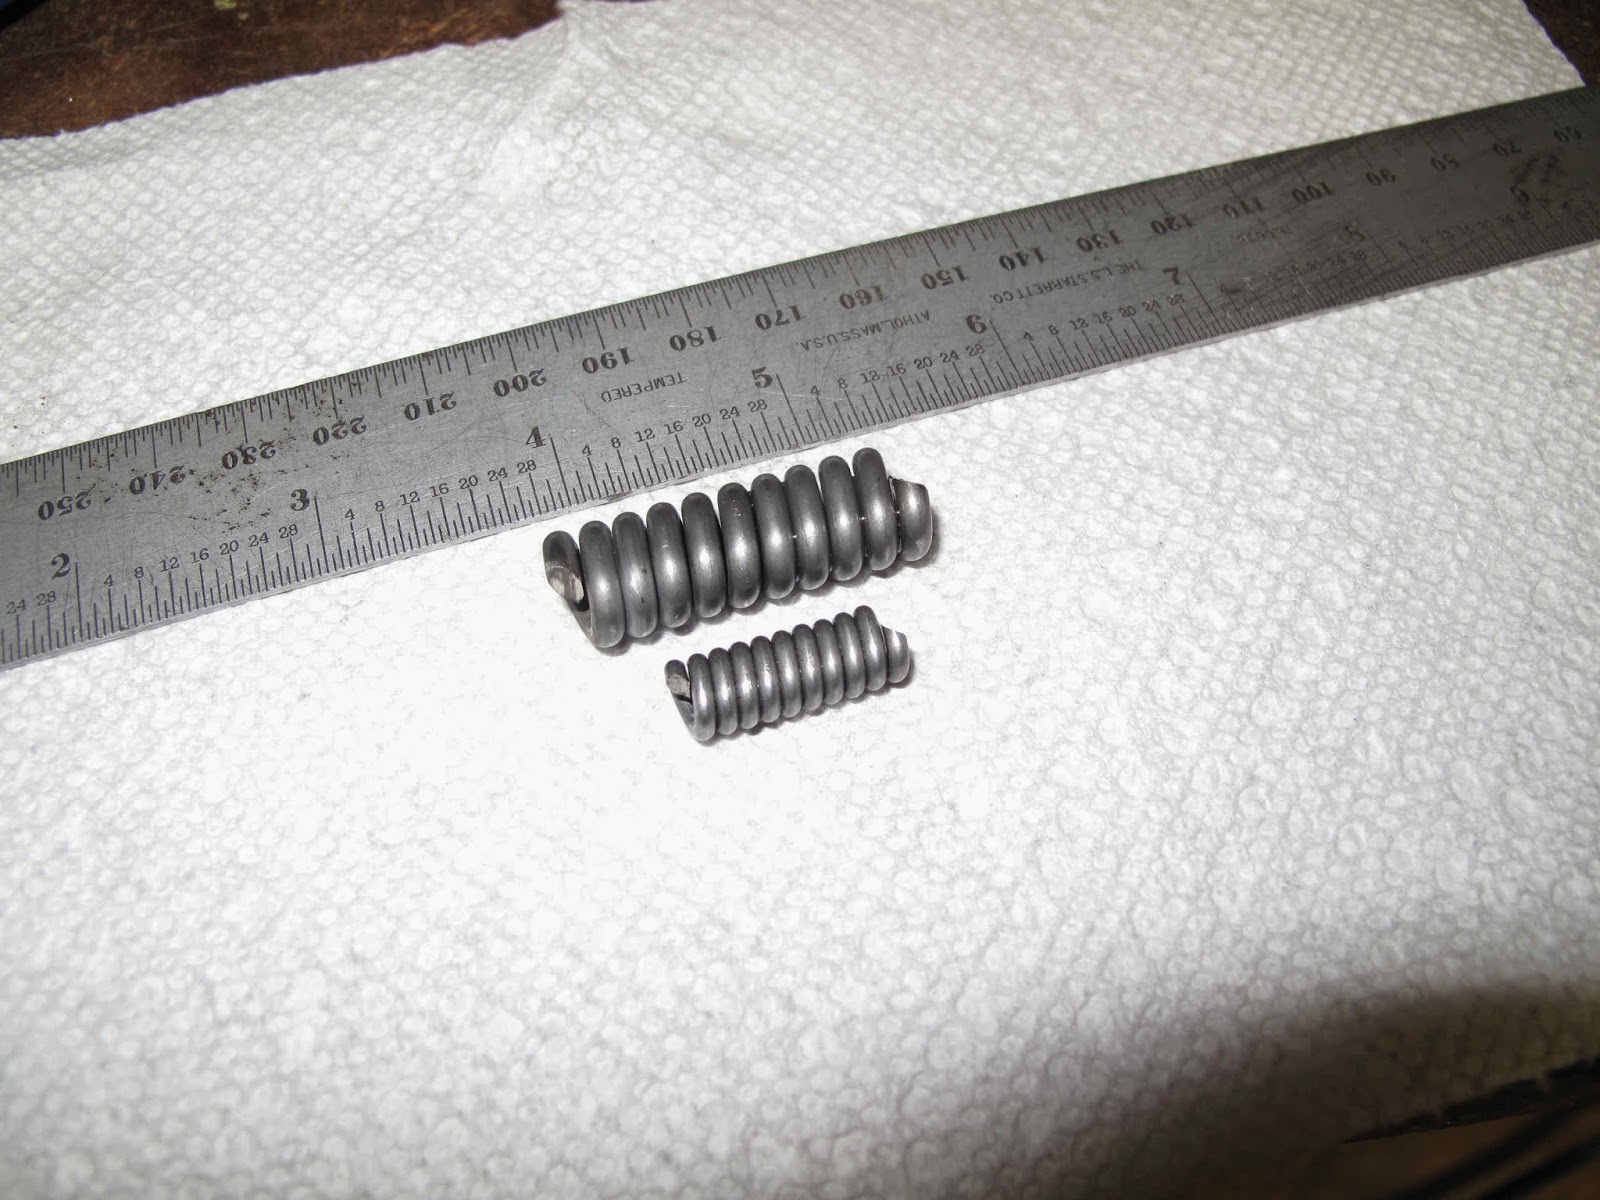
I was surprised how much bigger these ferrules are compare to the others. I guess I just hadn't thought about it.
Back to work.


No comments:
Post a Comment