 I bought the aluminum from Airparts in Kansas. A 3'x4' piece will make 120 ribs if all goes well, and it can ship flat by UPS. We cut 3 strips 14-1/2"x36". That gets the grain going the right direction for forming the channel, across the rib strips. I printed a sheet of paper with lines every 7/8" so that the lines are perpendicular to the print head travel. You need to think about it but printing that way eliminates any error in the feed rollers and the print head motion is the most dimensionally accurate.
 We positioned the page on the table of the metal shear with magnets while we got it aligned with the cutting edge. It takes a little care and trial and error cuts, there go those 20 extra pieces I thought we had. In the end the first line is 7/8" from the blade and parallel within .005" end to end. At that point we taped the paper down with double sided tape and squared up the side rail with our lines. The magnets allow you to tape one side of the paper at a time without it moving, OK they're very strong magnets I use to hold vinyl in place while applying stickers to cars. Obviously a 36" strip of aluminum is too long to to use these lines as a guide so what we did was to use the back line to cut off chunks, about 14" long, which were cut into the actual strips. By lining up the back edge of the aluminum with a line you get nice identical 7/8" strips. Because the shear is old and leaves a small burr we figured out that if you flip the sheet left to right after each cut both burrs end up on the same side of the strip. Flipping the sheet also doubles any error from how parallel the lines are with the blade.
 With blank strips ready we now needed a way to notch the ends. One way considered was to punch 1/8" holes in the corners of the notches with a Whitney punch and a little template, then finish the corner with snips. OK that's fine for one part or 2 but not 100. What we needed was a corner punch but NO MONEY. Instead I made a fixture from some scraps of 1"x 1/8" aluminum angle from my ultralight days, ah the good old days, and scraps of .032" sheet aluminum. I have this nice drill powered Bad Dog Biter nibbler (with their Versa-Clamp) which I bought at a sign show. They sell them at Oshkosh also.
 The idea was to make a fixture which would trap the strip with an opening to insert the nibbler head, cut one corner and flip the strip to cut the other corner. If you watched the video in the earlier post it works very well. The pieces are bolted and pop-riveted together. You need a little clearance on the cut side of the pocket strip to allow for some variance in the width of the strips but not much so if you miss-cut a strip, something I've never done, it won't fit or it will be obviously loose. I used .032" sheet for these parts because the strips are .025" and You need a little clearance inserting the strips.
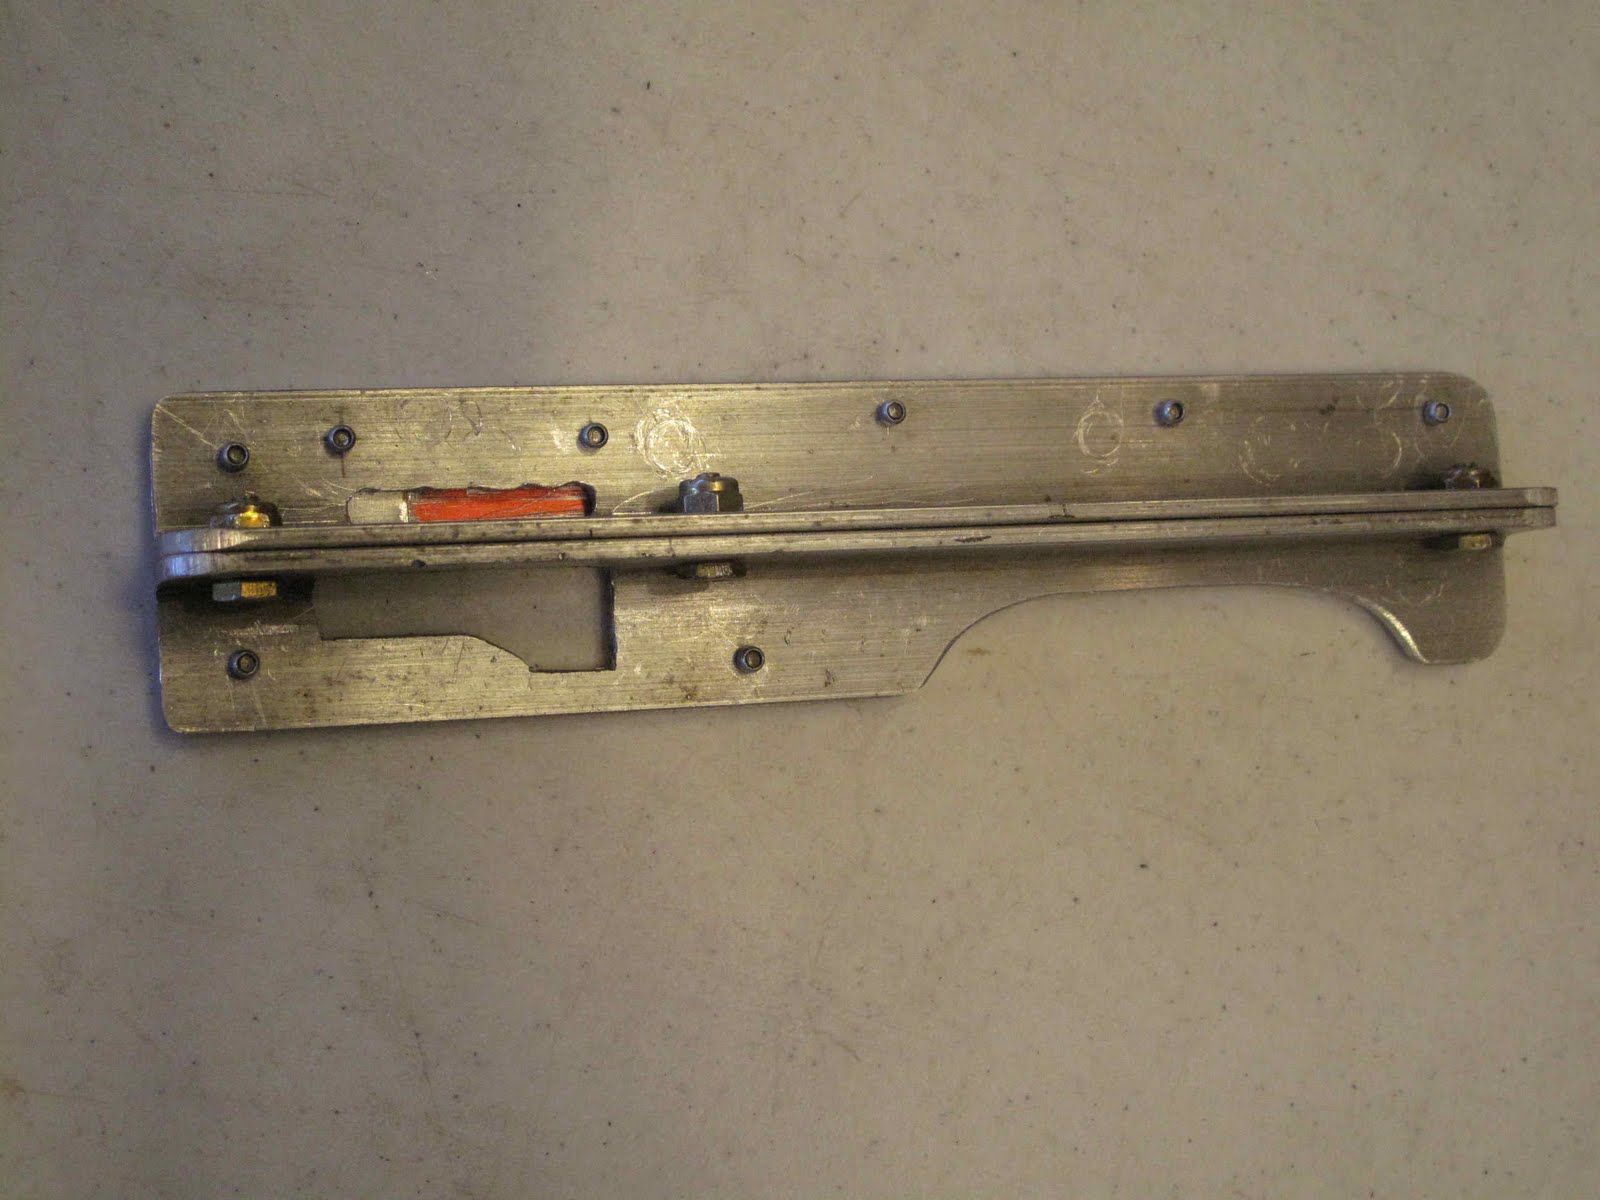


 You insert the cutter at the top end of the fixture and just hold it tight to the side of the cutter while pushing it into the cutter. You have to hold the strip in against the stop in the fixture with one hand while holding it tight to the right side with your fingers.
Very simple and it works. So far we've done over 200 strips for 2 sets of wings.


No comments:
Post a Comment